Step-by-Step Guide to Solar System Installation
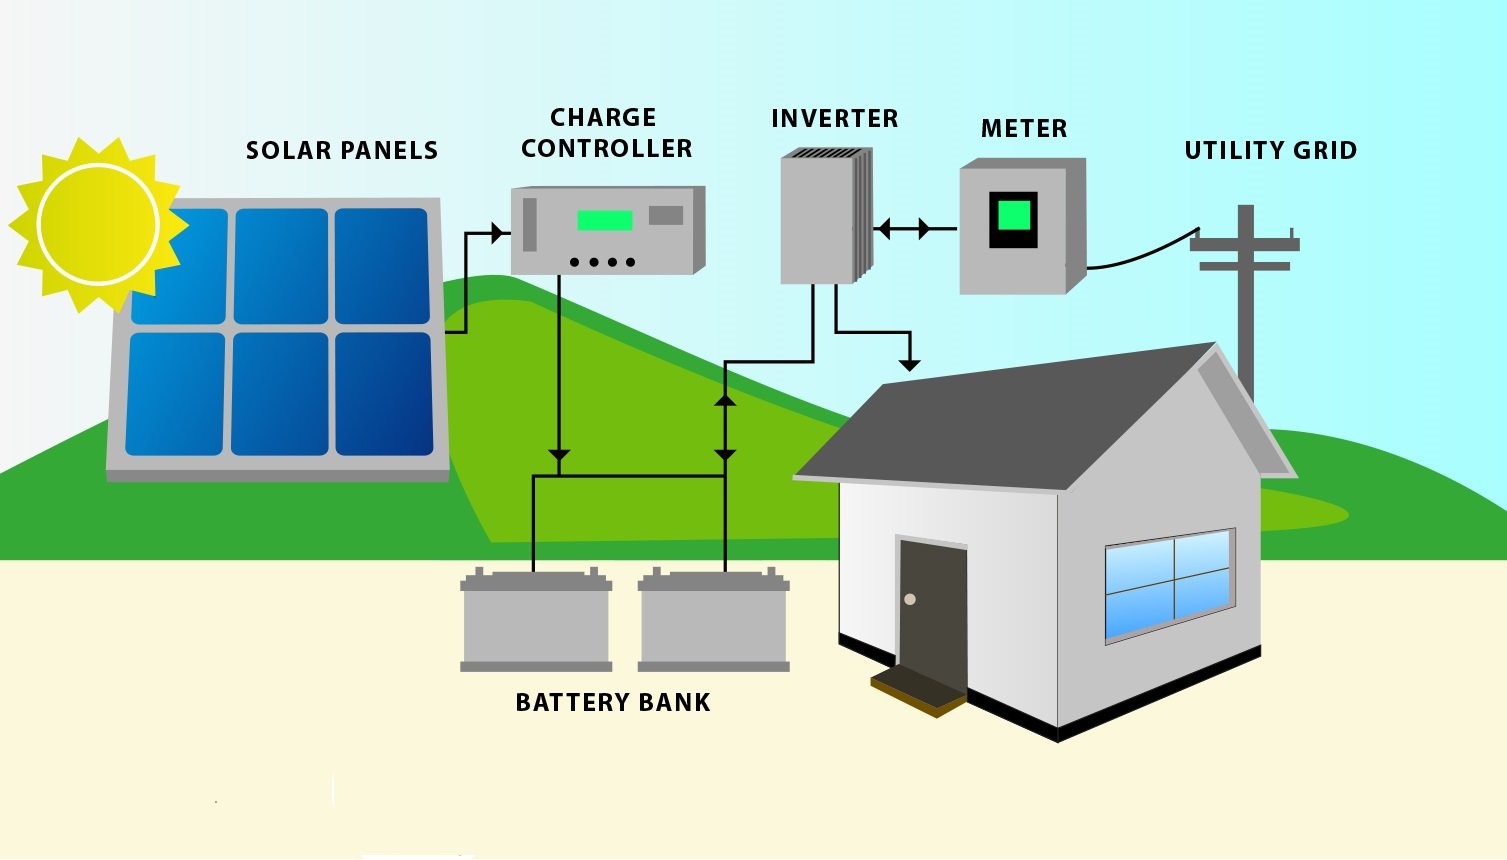
Welcome to our comprehensive guide to solar system installation. In this step-by-step guide, we will walk you through the process of installing a solar system for your home or business. We will also provide helpful diagrams to illustrate each step along the way.
Step 1: Assess Your Energy Needs
The first step in installing a solar system is to assess your energy needs. Determine how much electricity you consume on a daily, monthly, and yearly basis. This will help you determine the size of the solar system you will need to meet your energy requirements.
Consider factors such as the number of occupants in your home or the energy demands of your business operations. By understanding your energy needs, you can make an informed decision about the size and capacity of the solar system you will install.
Step 2: Choose the Right Solar Panels
Once you have assessed your energy needs, it’s time to choose the right solar panels for your system. There are several factors to consider when selecting solar panels:
- Efficiency: Look for solar panels with a high efficiency rating. Higher efficiency panels generate more electricity, allowing you to maximize your energy production.
- Durability: Consider the durability and warranty of the solar panels. Look for panels that are built to withstand various weather conditions and come with a solid warranty.
- Budget: Take your budget into account when choosing solar panels. There are a variety of options available at different price points, so you can find panels that fit your budget.
Consult with a solar panel expert or installer to help you select the right panels for your specific needs.
Step 3: Determine the System Configuration
Next, you’ll need to determine the configuration of your solar system. This includes deciding whether you want an on-grid or off-grid system, as well as the placement of the solar panels.
An on-grid system is connected to the utility grid, allowing you to sell excess electricity back to the grid. An off-grid system, on the other hand, operates independently of the grid and requires battery storage to store excess energy.
Consider factors such as your location, energy needs, and budget when deciding on the system configuration. Consult with a solar system installer to help you determine the best configuration for your specific circumstances.
Step 4: Obtain Permits and Approvals
Before you can proceed with the installation, you’ll need to obtain the necessary permits and approvals. This may include permits from your local government or homeowner’s association, as well as approval from your utility company.
It’s important to check the regulations and requirements in your area to ensure compliance. Working with a reputable solar installer can help streamline this process, as they will have experience navigating the permit and approval process.
Step 5: Install the Solar Panels
Once you have obtained the necessary permits and approvals, it’s time to install the solar panels. This step is best left to professionals, as they have the expertise and equipment to safely and efficiently install the panels.
The installation process typically involves the following steps:
- Roof Preparation: The roof is inspected and prepared for the installation, including any necessary repairs or reinforcements.
- Mounting: The solar panels are mounted onto the roof using specialized mounting brackets.
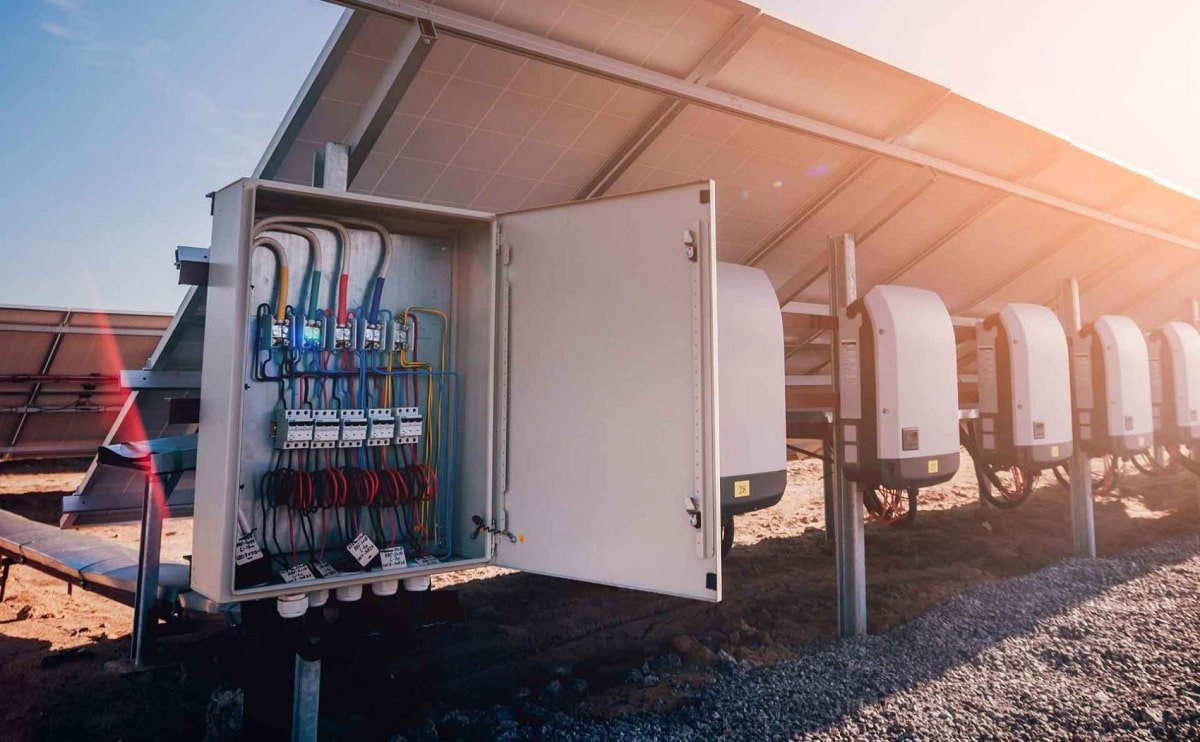
- Wiring: The panels are connected to an inverter, which converts the DC power generated by the panels into AC power for use in your home or business.
- Connection: The inverter is connected to your electrical system, allowing the solar energy to power your appliances and devices.
Throughout the installation process, the installer will ensure that the panels are properly positioned and secured for optimal performance.
Step 6: Test and Commission the System
Once the solar panels are installed, the system needs to be tested and commissioned. This involves checking the performance of the panels, verifying the connection to the electrical system, and ensuring that everything is functioning as intended.
During this step, the installer will also provide you with instructions on how to monitor and maintain your solar system for optimal performance and longevity.
Step 7: Enjoy the Benefits of Solar Power
With your solar system installed and commissioned, you can now enjoy the benefits of solar power. You’ll begin generating clean, renewable energy, reducing your reliance on traditional fossil fuels, and potentially saving money on your electricity bills.
Remember to regularly monitor your system’s performance and schedule any necessary maintenance or repairs to keep it running efficiently.
By following this step-by-step guide and working with experienced professionals, you can successfully install a solar system and start reaping the benefits of renewable energy.


